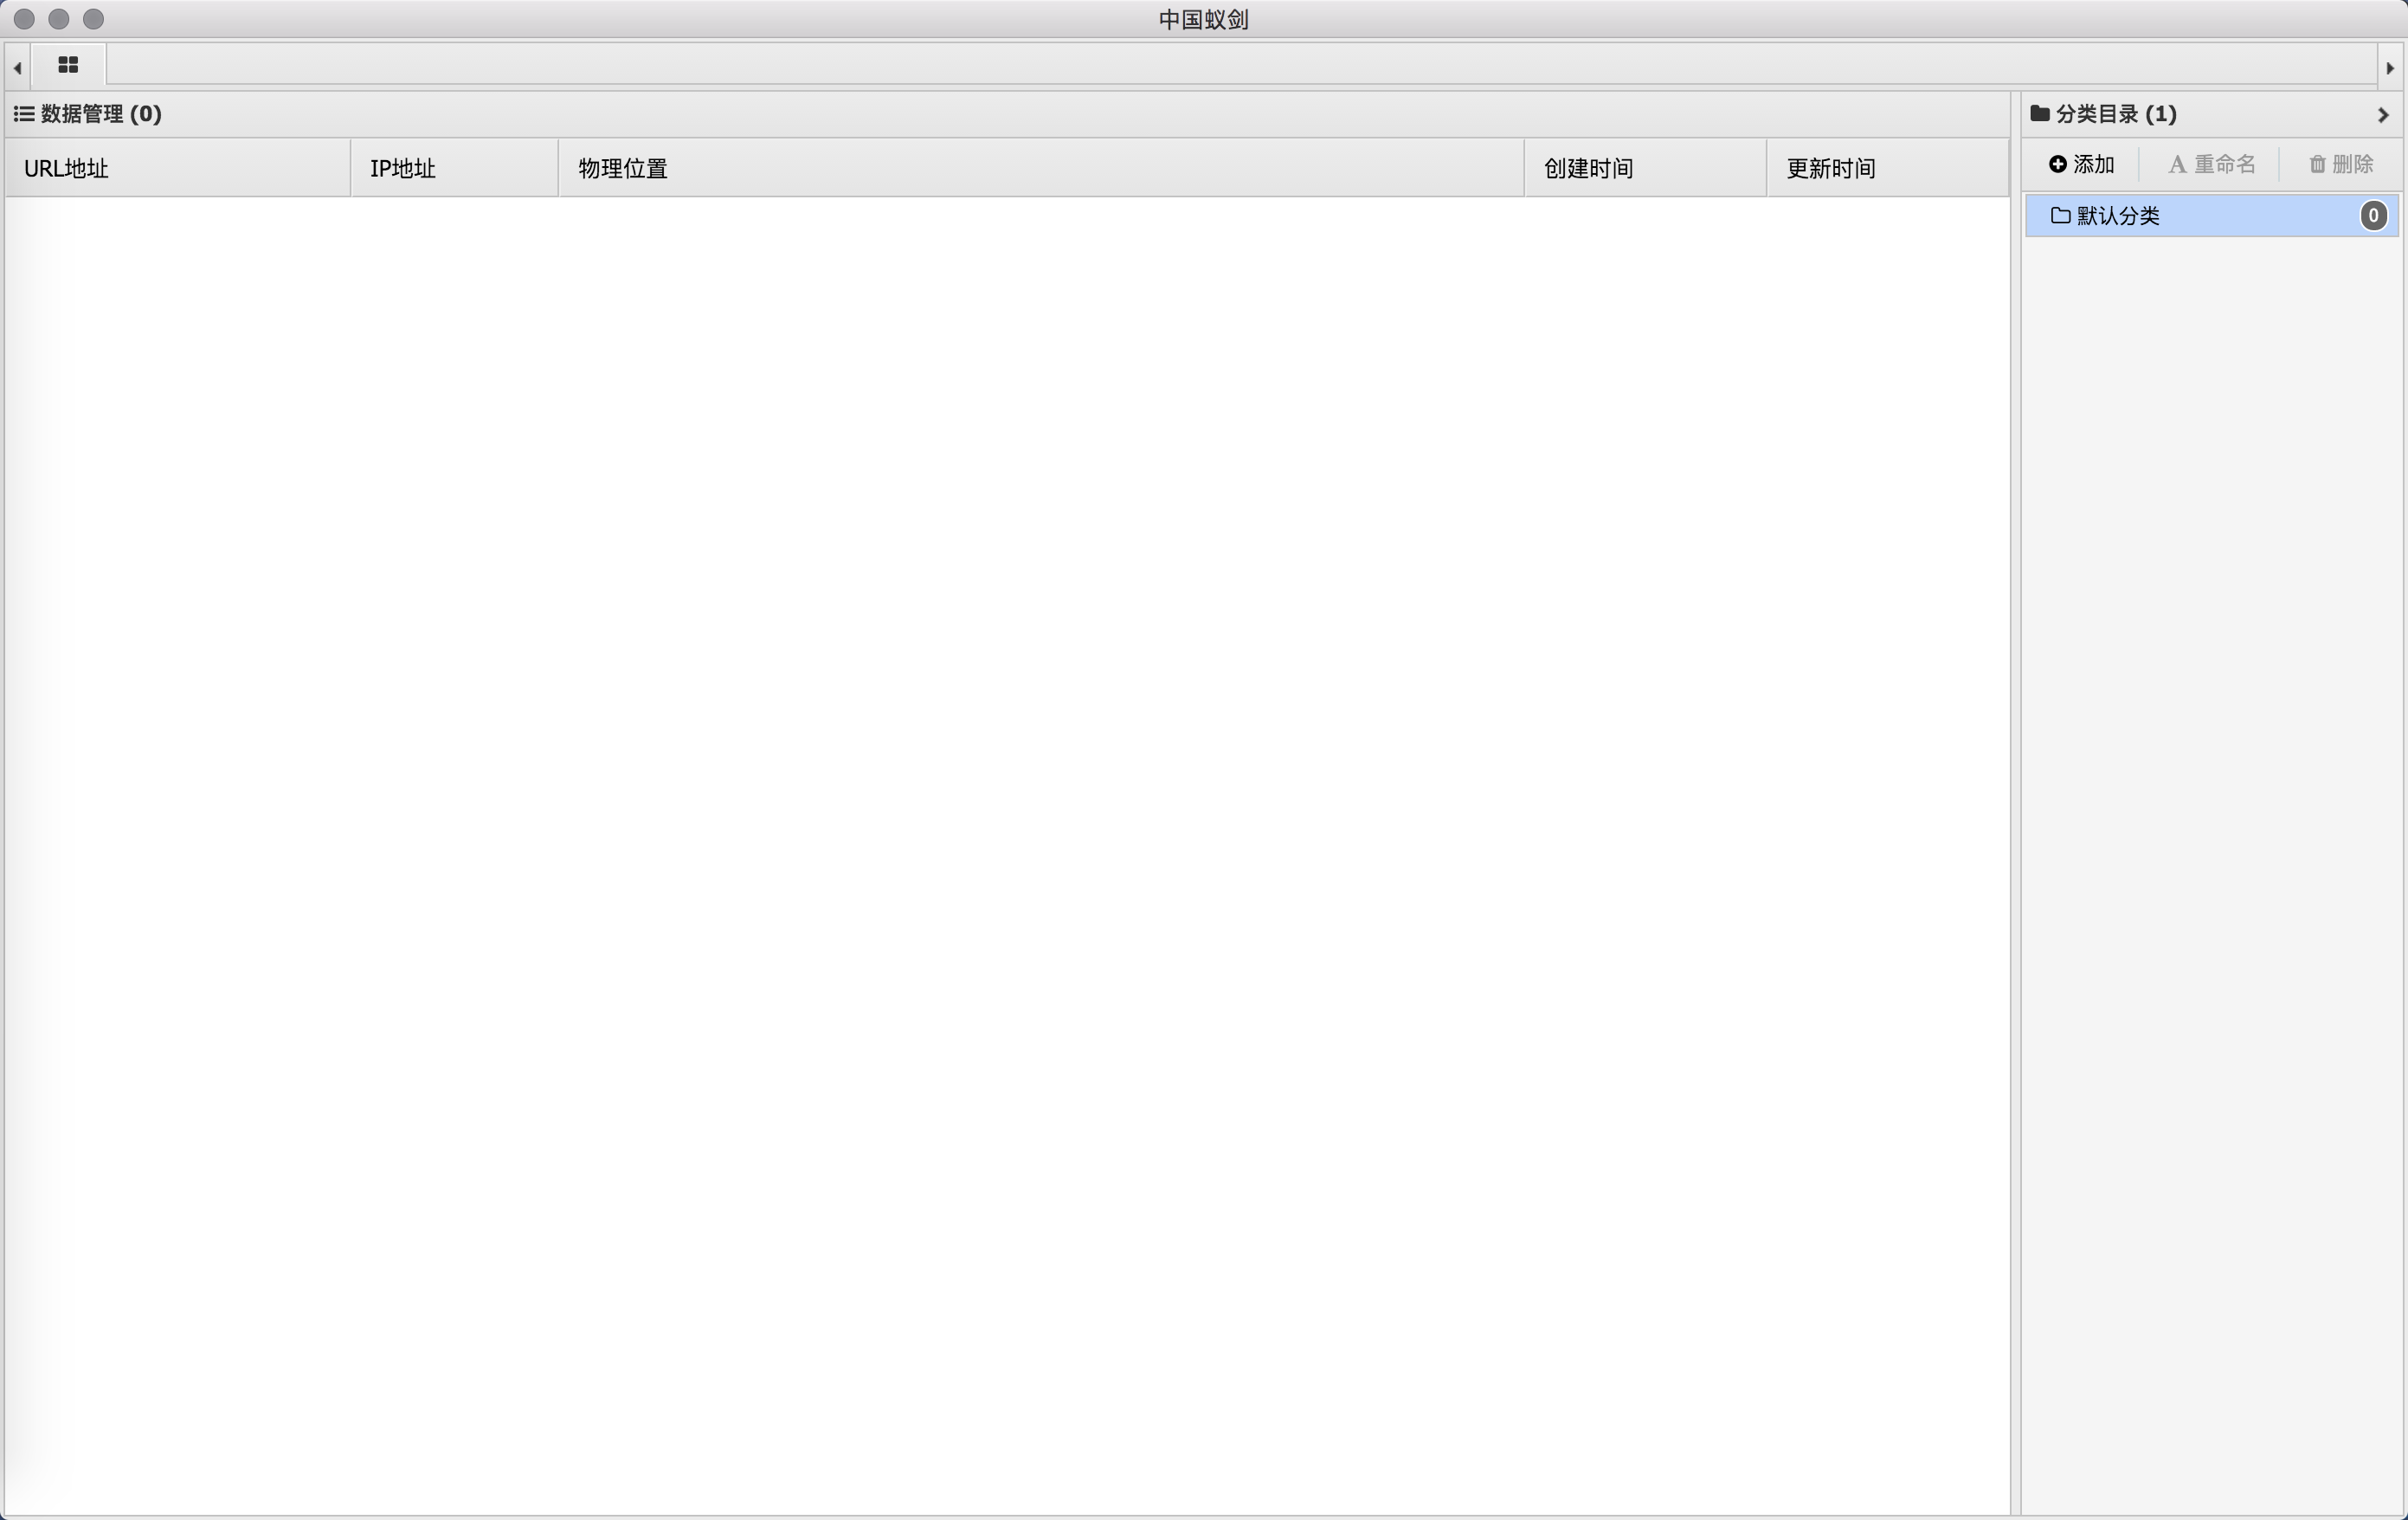
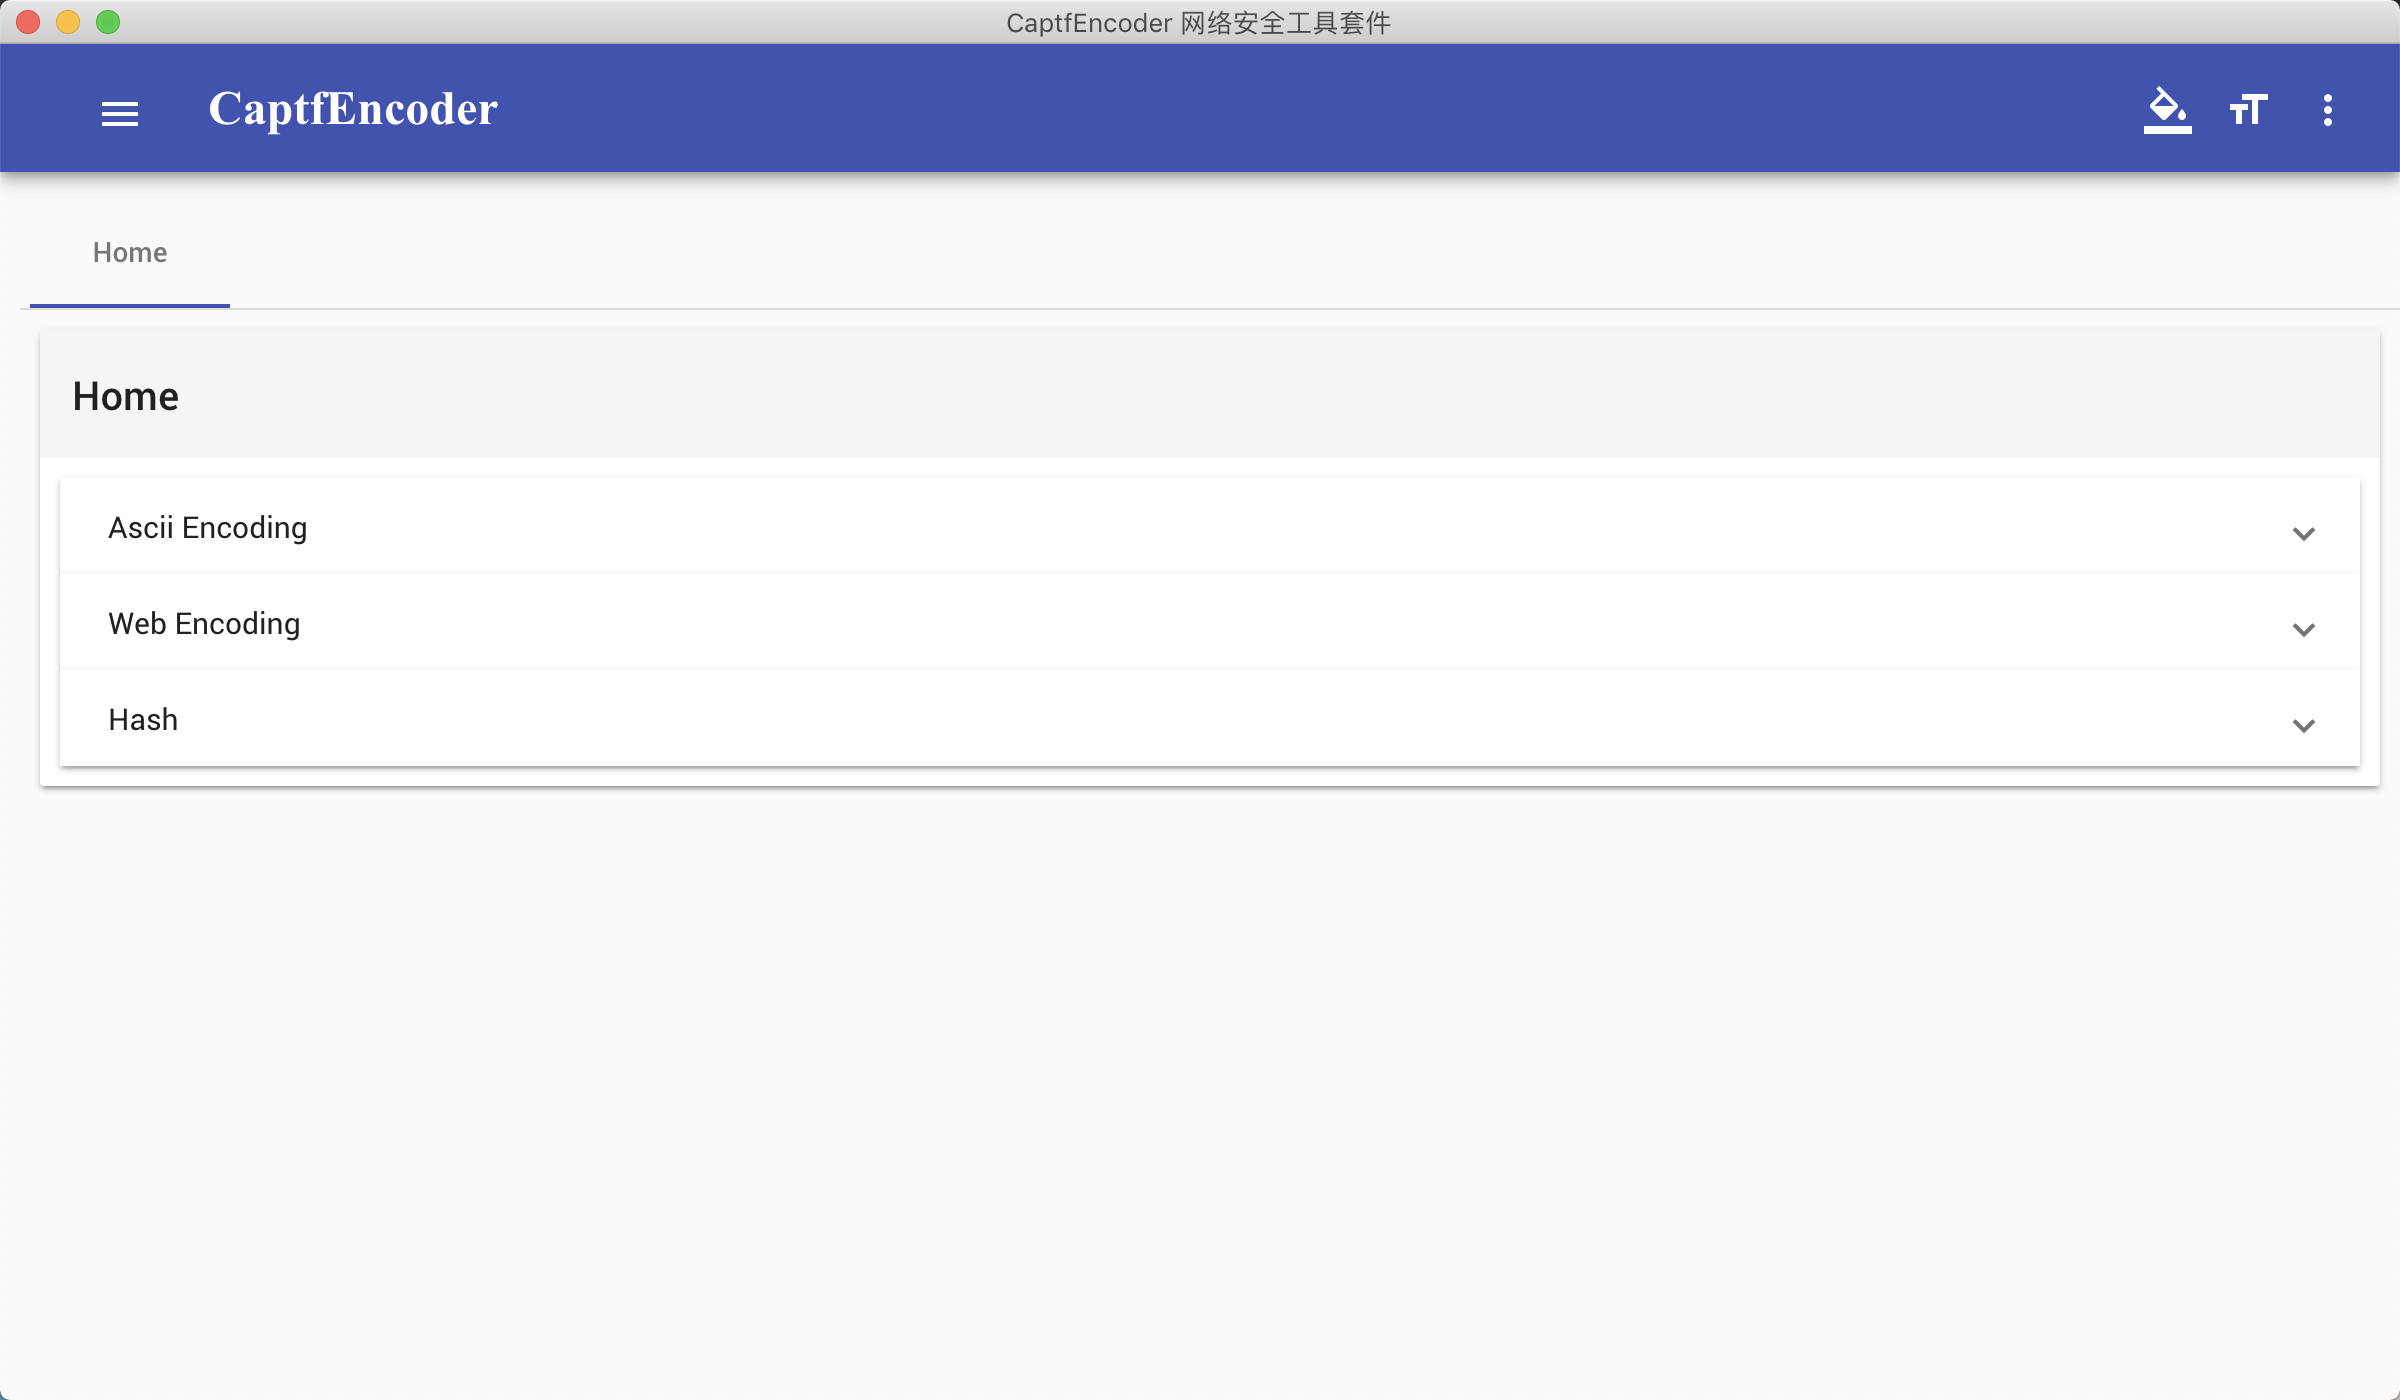
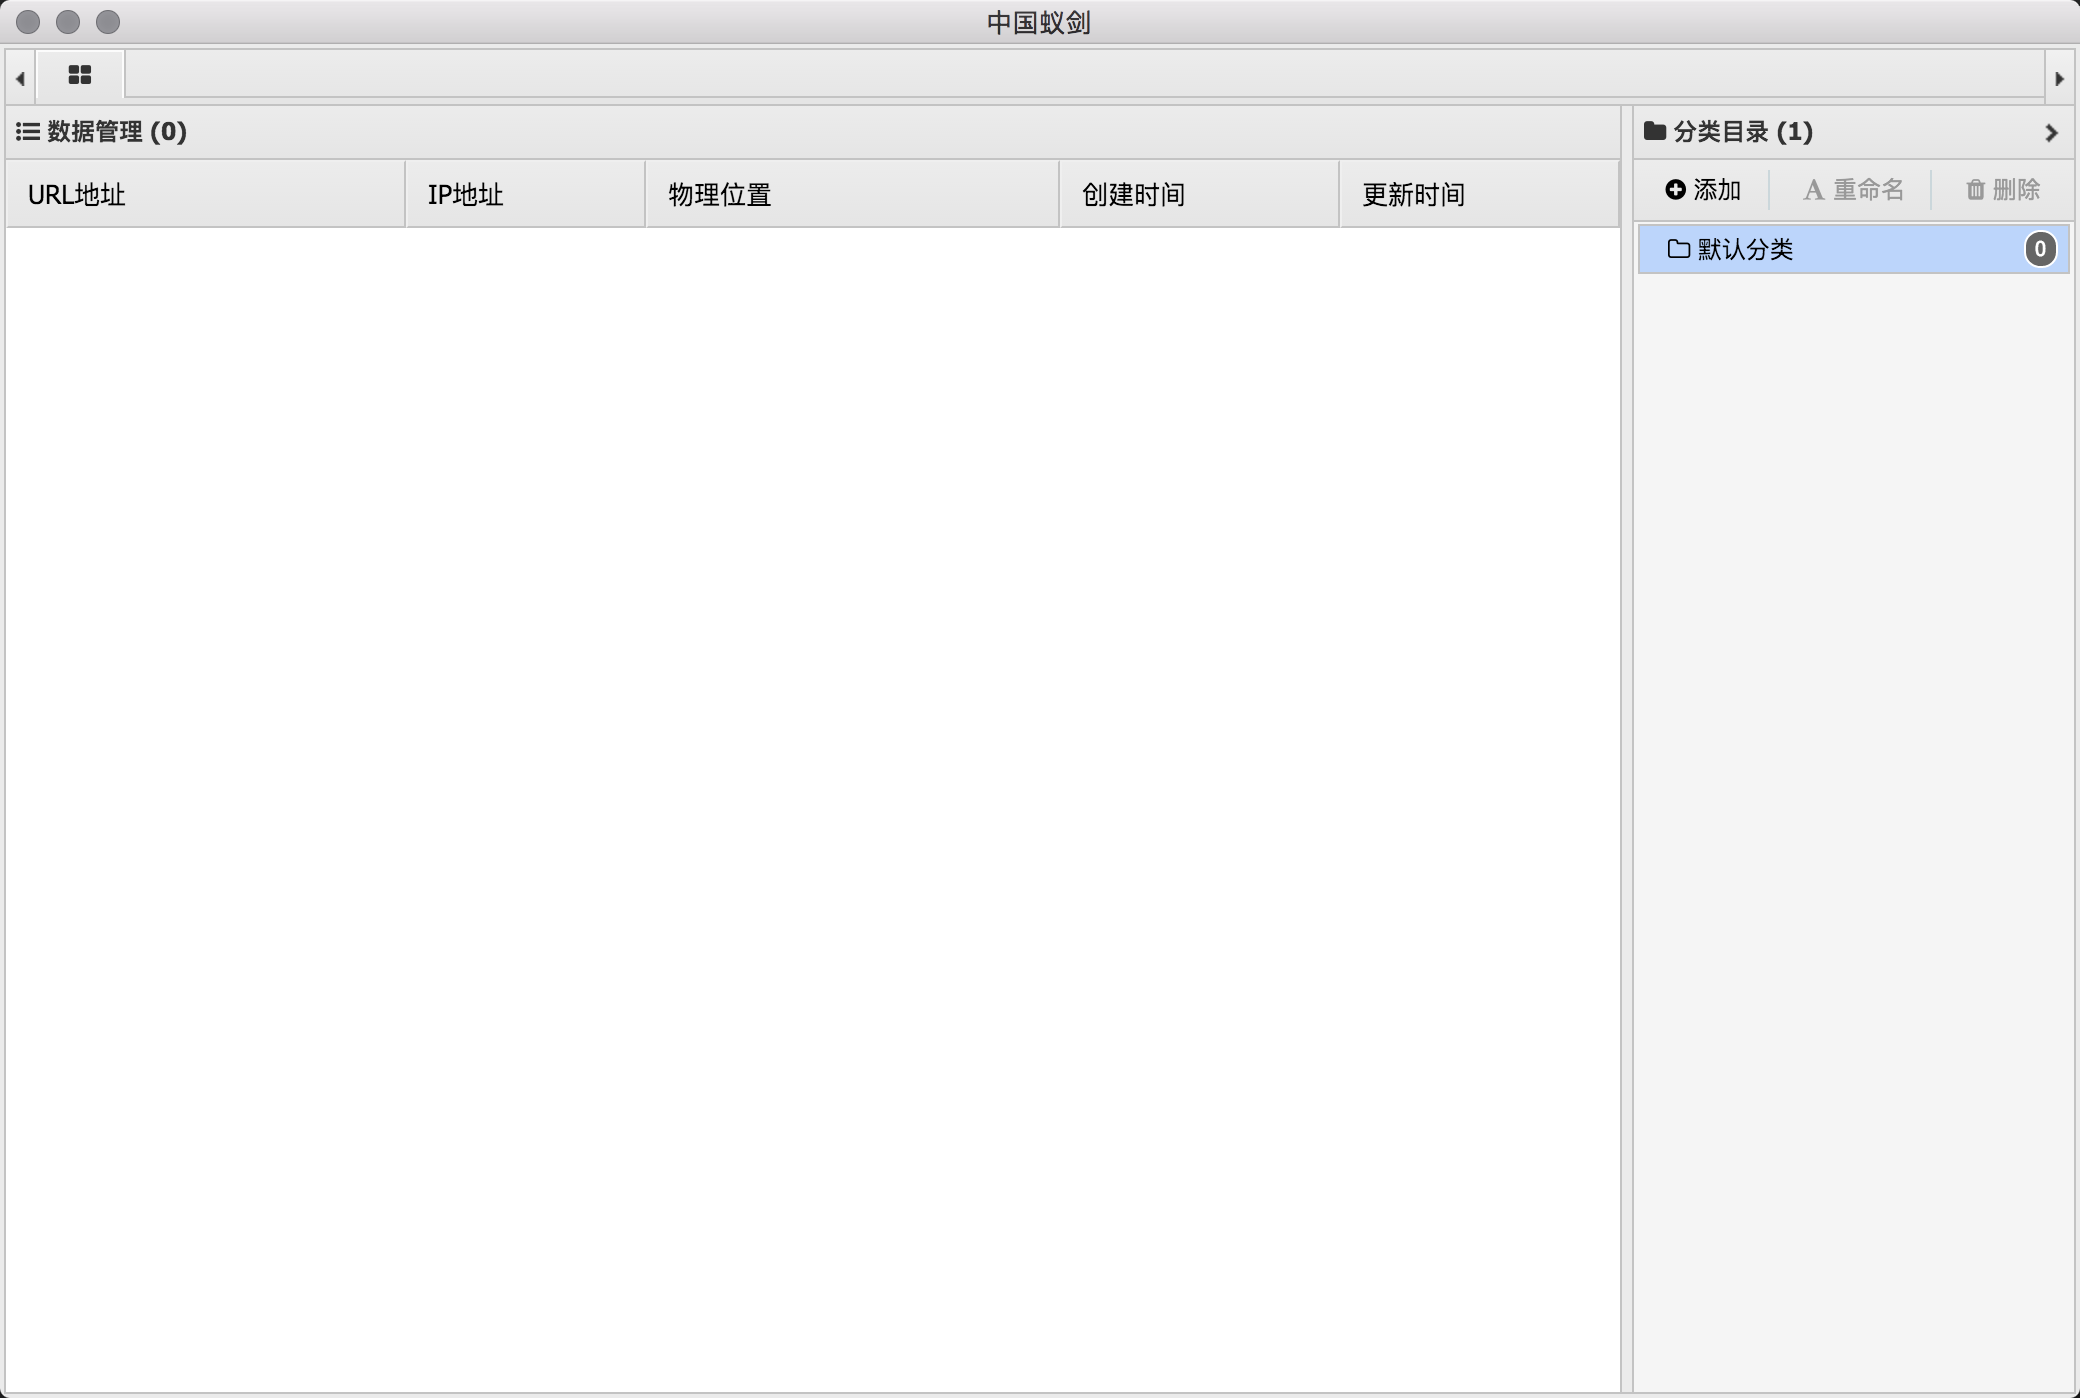
在Mac上运行electron框架程序(例如Antsword、CaptfEncoder等)每次都需要npm start,感觉太繁琐了。因此,想打包成app方便使用。成功打包效果图如下,这里给大家提供打包出来的dmg包。
Antsword链接:https://pan.baidu.com/s/1Z4NwAMwcOadof93_1na8mA 密码:eokx
![antsword-success.png]()
CaptfEncoder链接:https://pan.baidu.com/s/1P4V_OsOIsKu258XbUAE-Zw 密码:659d
![CaptfEncoder.png]()
本文以Antsword为例。
前期准备
安装brew
1
2
| /usr/bin/ruby -e "$(curl -fsSL https://raw.githubusercontent.com/Homebrew/install/master/install)"
brew --version
|
![brew--version.png]()
安装node
1
2
3
| brew install node
node --version
npm --version
|
![node--version.png]()
安装yarn
1
2
| brew install yarn
yarn --version
|
![yarn--version.png]()
安装electron-builder,安装成功之后需要建立软连接
1
2
3
4
| yarn add electron-builder -dev
sudo find / -name electron-builder
ln -s /Users/hywell/node_modules/.bin/electron-builder /usr/local/bin/electron-builder
elecctron-builder --version
|
![electron-builder--version.png]()
下载蚁剑,安装依赖并启动
1
2
3
4
| git clone https://github.com/AntSwordProject/antSword.git
cd antSword
npm install
npm start
|
![antSword.png]()
打包
修改antSword目录下的package.json,结构如下:
1
2
3
4
5
6
7
8
9
10
11
12
13
14
15
16
17
18
19
20
21
22
23
24
25
26
27
28
29
30
31
32
33
34
35
36
37
38
39
40
41
| {
"name": "antsword",
"version": "1.3.0",
"description": "中国蚁剑是一款跨平台的开源网站管理工具",
"main": "app.js",
"build": {
"appId": "1.0",
"mac": {
"category": "public.app-category.developer-tools",
"target": [
"dmg"
]
}
},
"scripts": {
"start": "electron app.js",
"build": "npm start",
"pack": "electron-builder --dir",
"dist": "electron-builder"
},
"author": "antoor <u@uyu.us>",
"license": "MIT",
"repository": {
"type": "git",
"url": "https://github.com/antoor/antSword"
},
"debug": true,
"update": {
"md5": "184c9217b01513647ccfaad49e795cfe",
"logs": "移除webpack以及其他不必要的依赖,直接无需编译即可执行ES6代码\n更新美化关于页面\n重构modules/request.js后端数据请求模块\n添加 aspx hex encoder 支持\n修正custom shell 读取自身时数据被截断的 bug\n增加php中的mysql数据库模板,用于不支持使用mysqli的服务器\n以及其他小部分的代码重构优化",
"sources": {
"coding.net": "https://coding.net/api/share/download/c405db5d-6fdb-4078-9326-32cd86c392a3",
"github": "https://github.com/antoor/antSword/releases/download/1.3.0/update.zip"
}
},
"bugs": {
"url": "https://github.com/antoor/antSword/issues"
},
"homepage": "http://uyu.us",
"postinstall": "electron-builder install-app-deps"
}
|
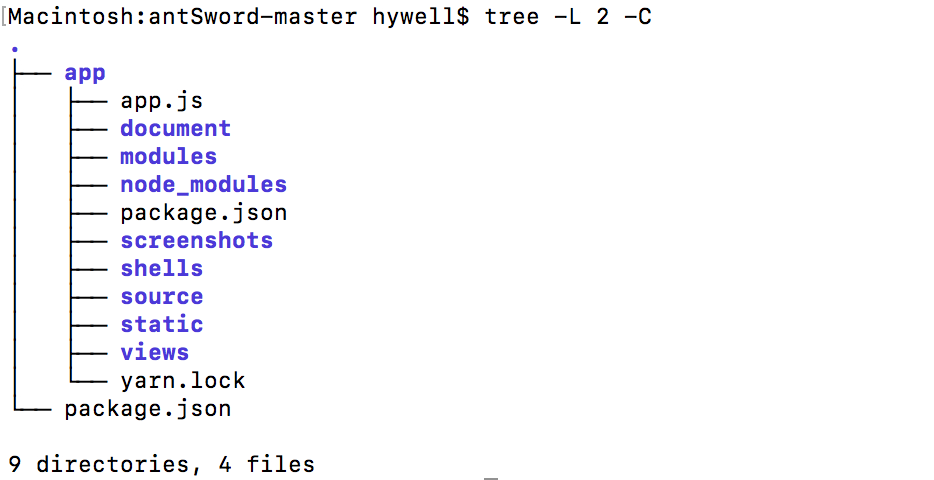
在antSword目录下新建一个app文件夹,将antSword目录下所有文件迁移到app文件夹下(保证原有结构不变)。结构如下:
![tree -L 2 -C.png]()
在里面新建一个package.json文件,结构如下:
1
2
3
4
5
6
7
8
9
10
11
12
13
14
15
16
17
18
19
20
21
22
| {
"name": "antsword",
"version": "1.3.0",
"main": "app.js",
"description": "antsword-MacOS",
"author": "antoor <u@uyu.us>",
"dependencies": { // 将上个文件的依赖迁移
"babel": "^5.2.17",
"extract-zip": "^1.5.0",
"geoips": "0.0.1",
"iconv-lite": "^0.4.13",
"log4js": "^0.6.29",
"nedb": "^1.5.1",
"nugget": "^2.0.0",
"superagent": "^3.8.3",
"superagent-proxy": "^1.0.0",
"through": "^2.3.8"
},
"devDependencies": {
"electron-prebuilt": "^0.37.2"
}
}
|
在antSword目录下,执行命令将其打包。
完成之后会生成一个dist目录,在目录中就有成功打包的antSword。
总结
这次耗费了大半天的时间,查阅了无数资料,发现还是官方的文档最好!
- elecctron-builder打包程序时,需要建立一个app文件夹&两个package.json(一个作为打包使用,一个作为项目使用);
- elecctron-builder打包程序时,把所有程序的资源文件、代码文件等都放到app文件夹下;
- 遇到
cannot unpack electron zip file, will be re-downloaded error=zip: not a valid zip file,请删除缓存rm -rf ~/Library/Caches/electron/ - 编译出来的程序无法正常运行,可通过运行dist(release)/mac/xxxx.app/Contents/MacOS/xxxx,查看错误信息以便定位问题;
- 两个package.json的区别,根据我的理解(不一定正确,大家可以看官方文档),最外层的package.json是打包的配置信息,里层的package.json为项目的配置信息。因此依赖(dependencies、devDependencies)写在里面package.json。


