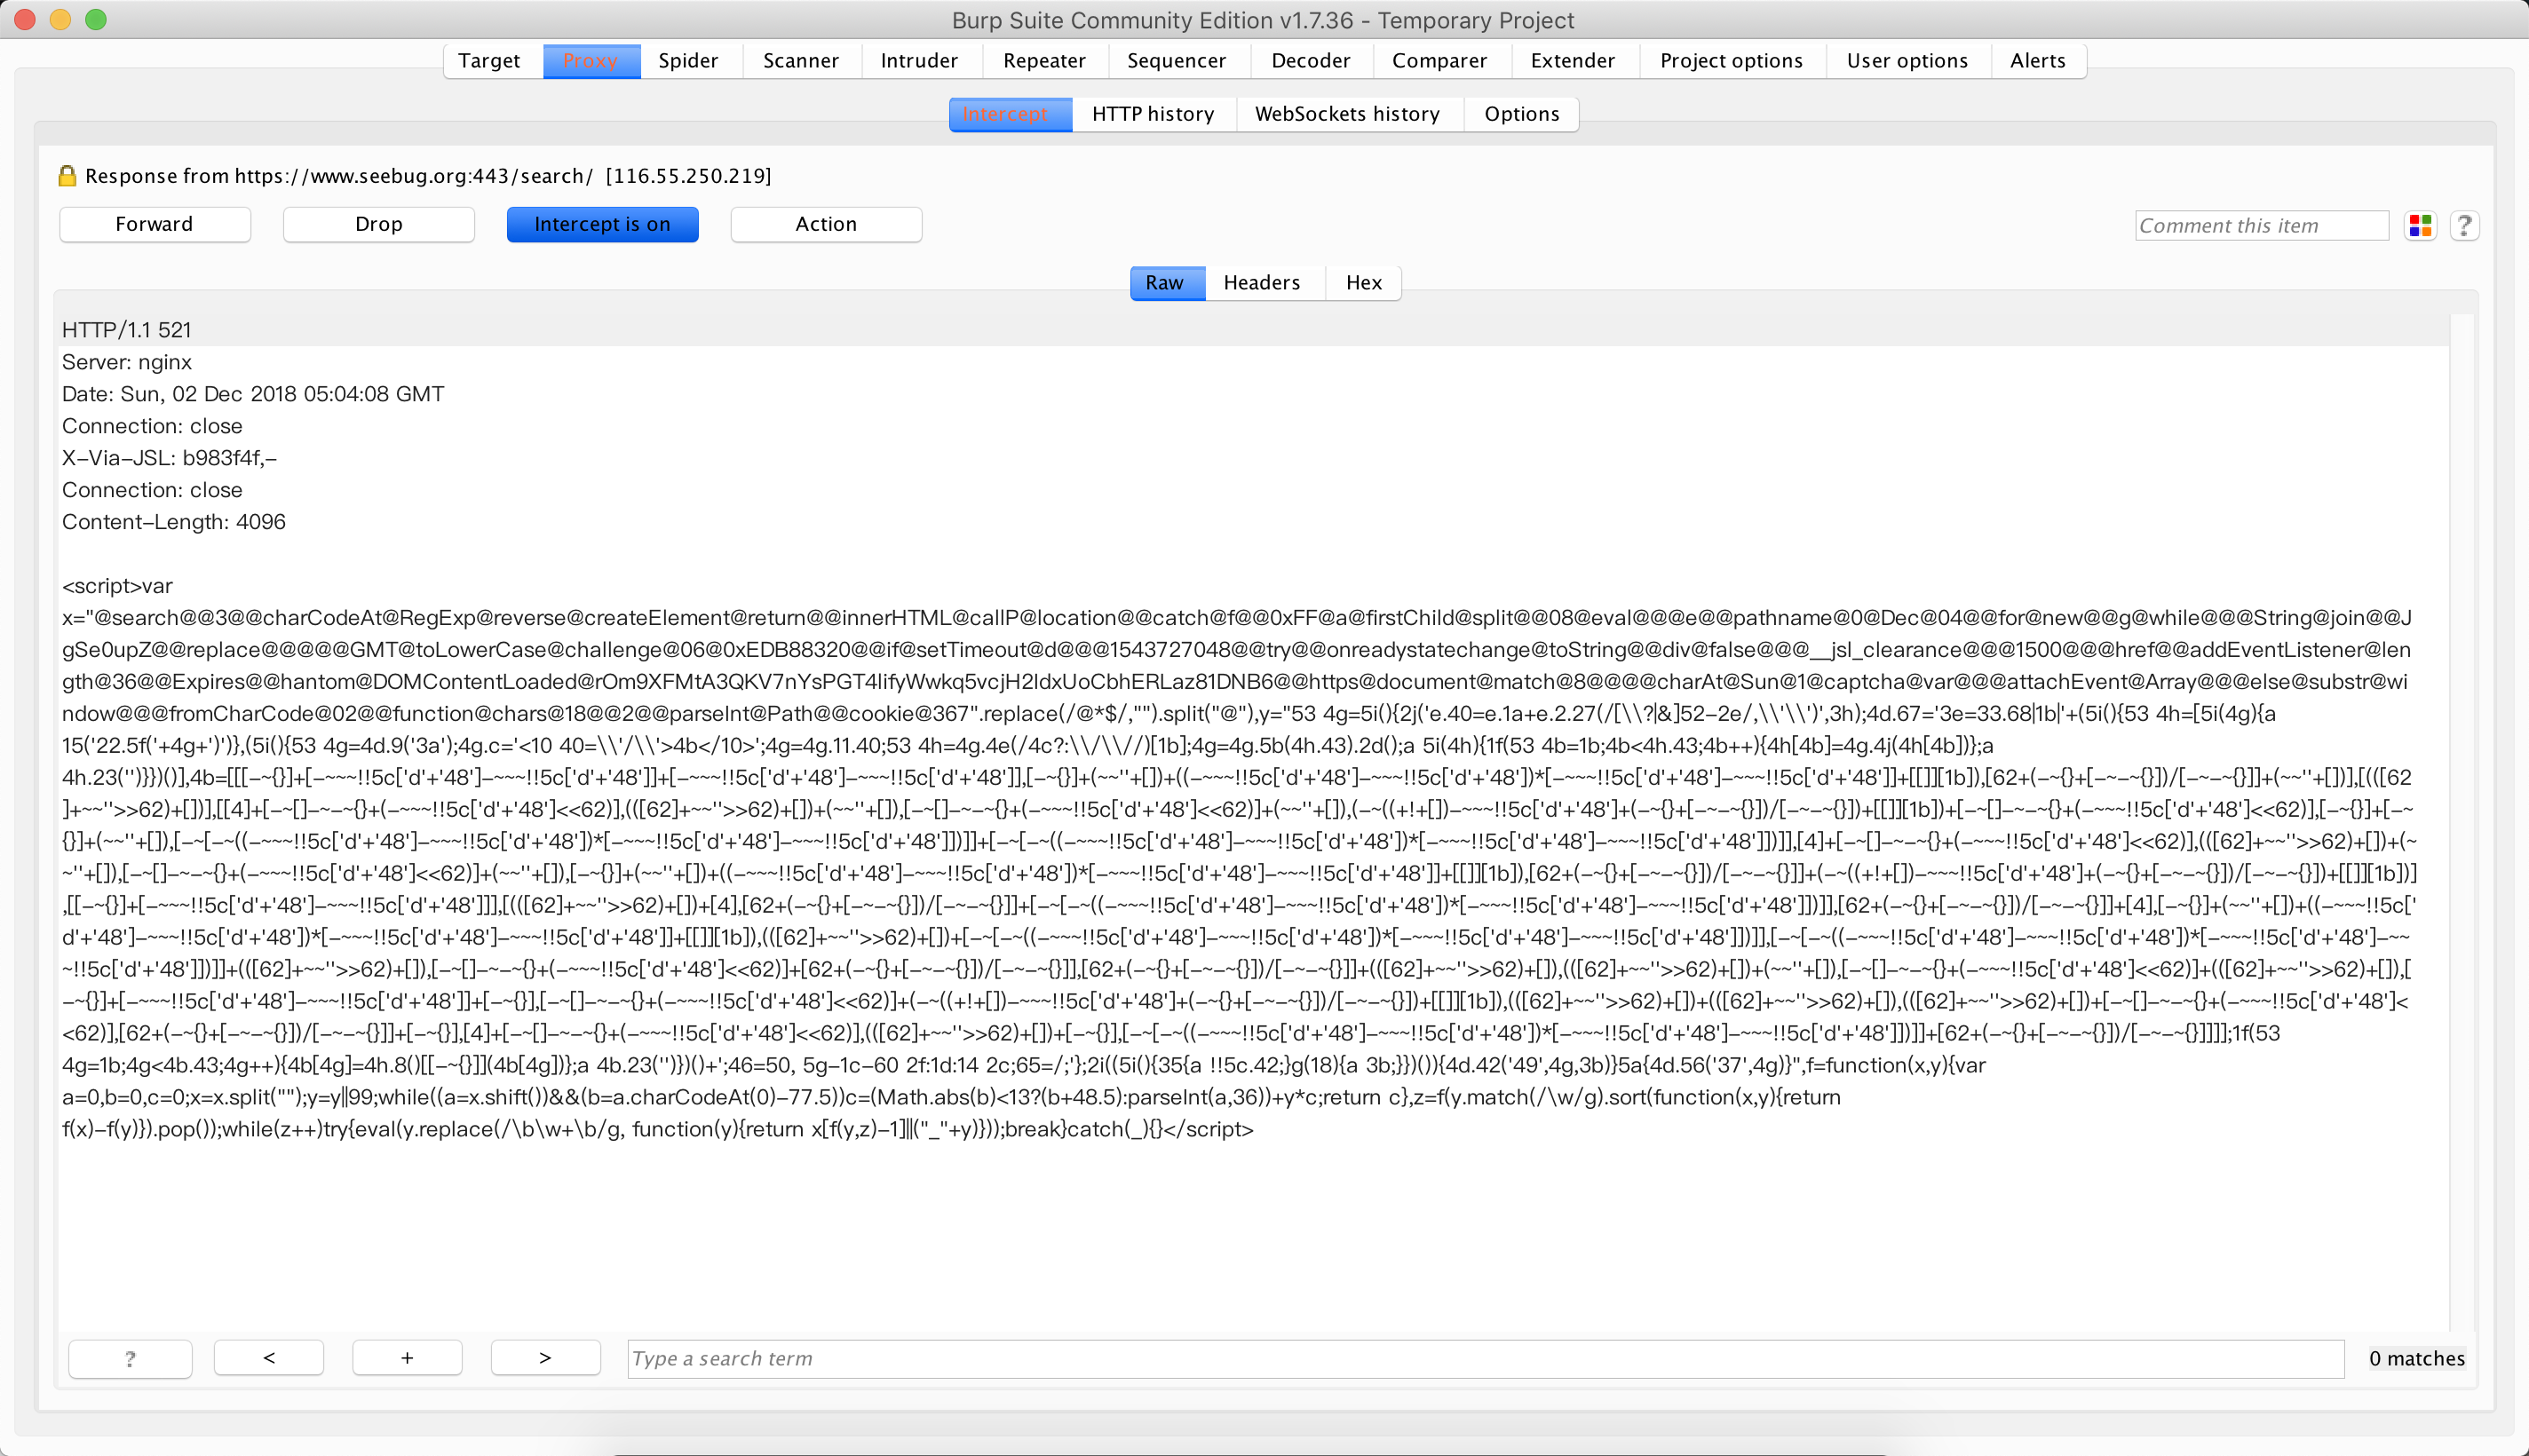
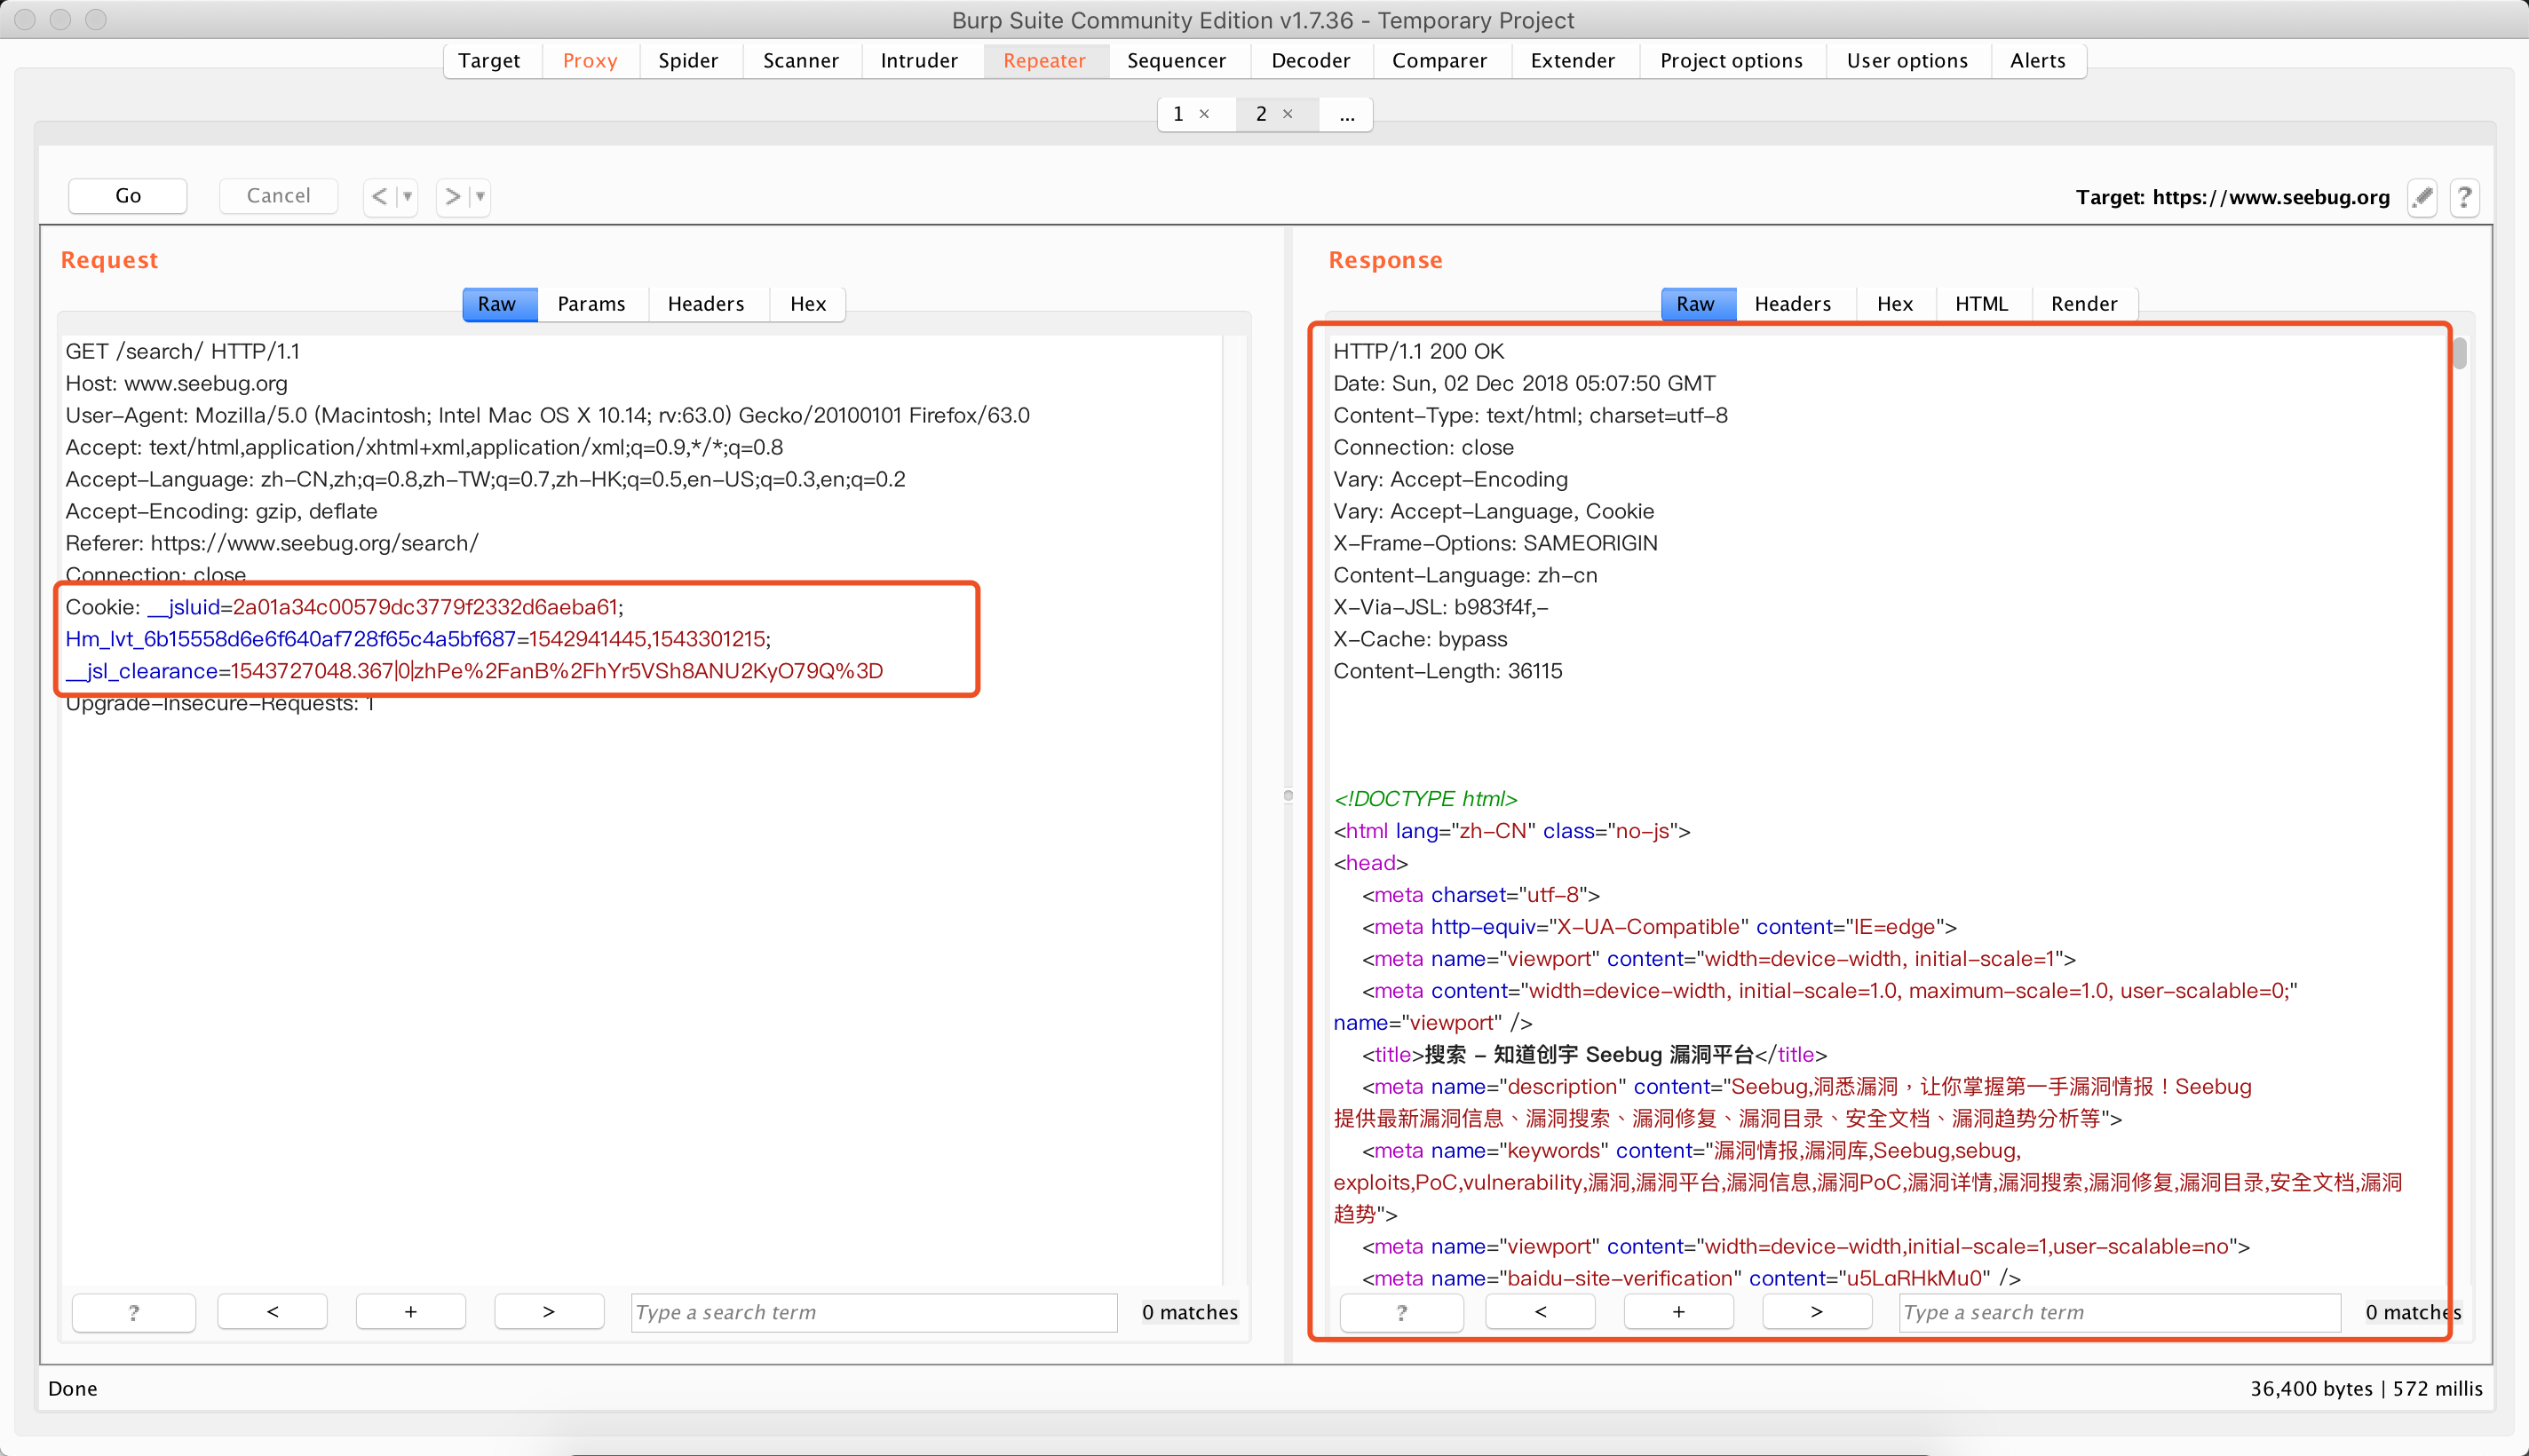
直接使用pip安装selenium即可,phantomjs已经暂停项目,新版的selenium已经不支持phantomjs。报错信息:UserWarning: Selenium support for PhantomJS has been deprecated, please use headless versions of Chrome or Firefox instead。因此,根据官方文档需要下载相应的浏览器内核(Chrome、Edge、Firefox、Safari)。我下载了Chrome Driver,并将chromedriver文件移动到/usr/local/bin目录下。
from selenium import webdriver from scrapy.http import HtmlResponse from scrapy.exceptions import IgnoreRequest from selenium.webdriver.chrome.options import Options
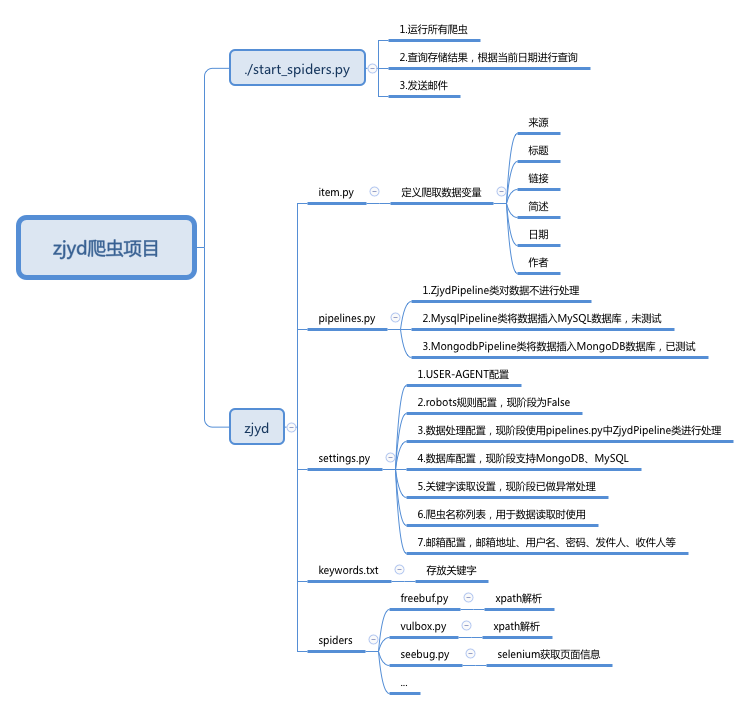
defstart_requests(self): keywords = list(settings['KEYWORDS']) for i in keywords: yield scrapy.Request(url=('https://www.seebug.org/search/?keywords=%s&category=&page=1' % str(i)), callback=self.parse)
# import os import time import pymongo import scrapy import smtplib from email.header import Header from email.mime.text import MIMEText from scrapy.crawler import CrawlerProcess from scrapy.utils.project import get_project_settings from scrapy import spiderloader
settings = get_project_settings()
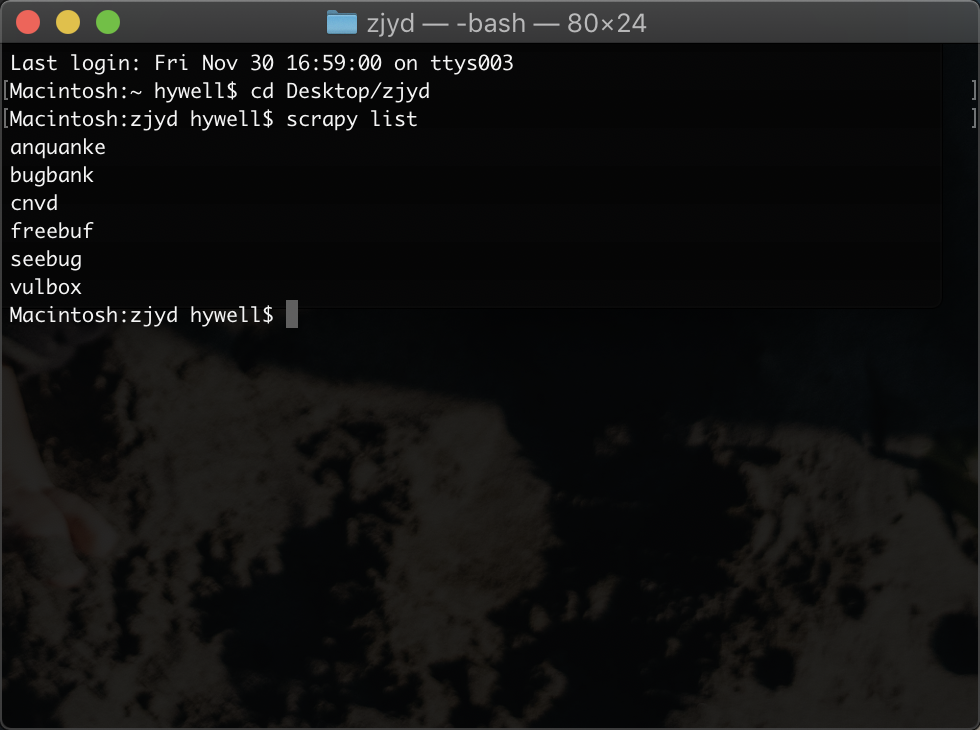
defsend_mail(): mongo_client = pymongo.MongoClient(host=settings["MONGODB_HOST"], port=settings["MONGODB_PORT"]) mongo_db = mongo_client[settings["MONGODB_DBNAME"]] mongo_query = {'time': time.strftime("%Y-%m-%d").decode('utf-8')} result = "邮件更新提醒:\n" spider_loader = spiderloader.SpiderLoader.from_settings(settings) spiders = spider_loader.list() for i in spiders: mongo_col = mongo_db[i] if mongo_col.find(mongo_query).sort("ts",pymongo.ASCENDING).count() != 0: result += '%s 有更新,请注意查收!\n' % (i) else: result += '%s无更新!\n' % (i)
defmain(): process = CrawlerProcess(settings) spider_loader = spiderloader.SpiderLoader.from_settings(settings) spiders = spider_loader.list() classes = [spider_loader.load(name) for name in spiders] for i in classes: process.crawl(i)